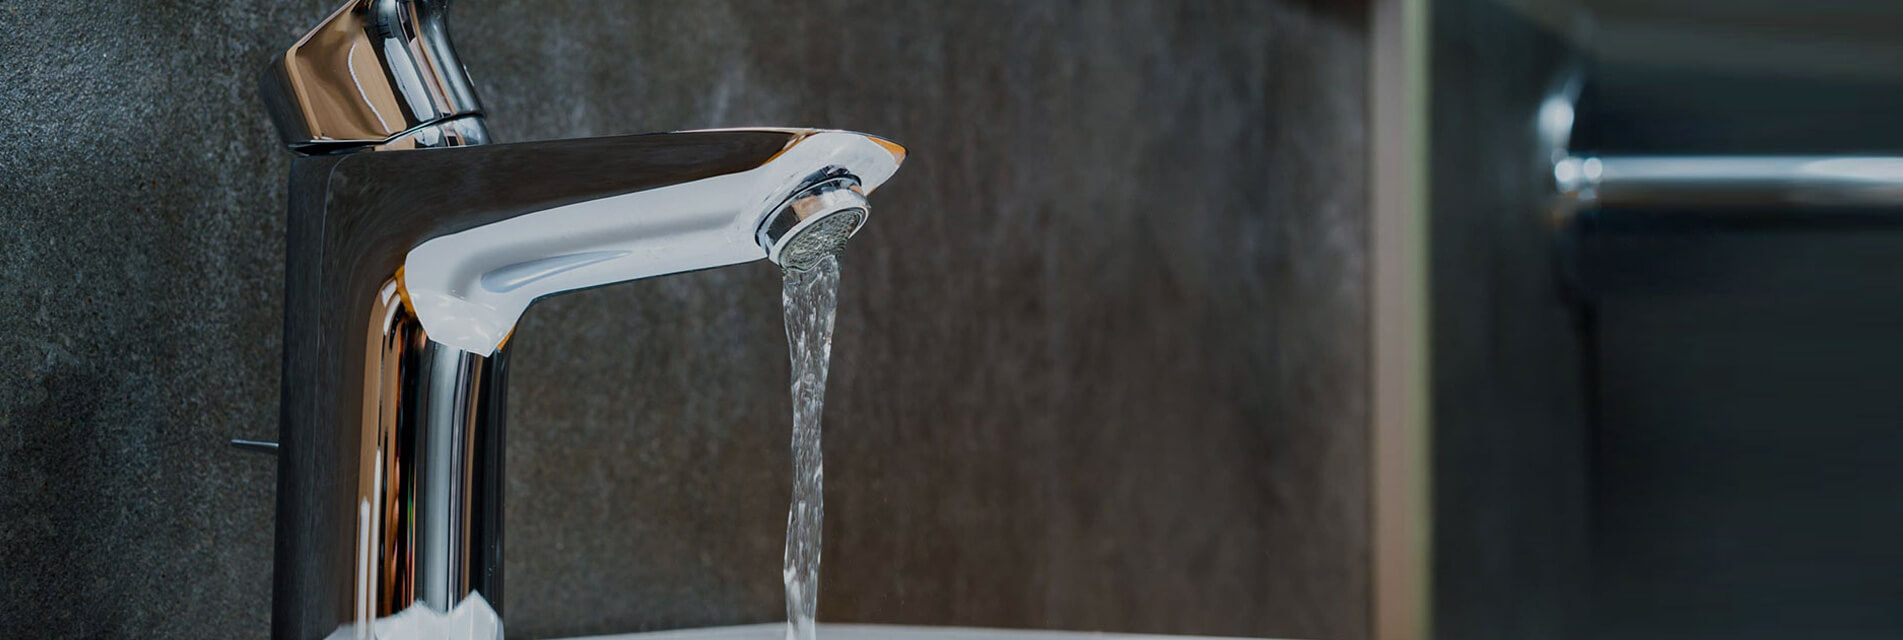
How to repair a leaking bathtub faucet
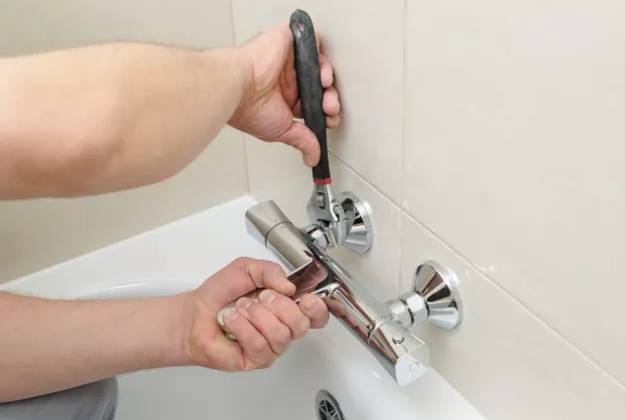
The maintenance procedure starts with turning off the water in the bathroom. Once you do, you can start.
 Step 1: determine the valve to be repaired
If the faucet has only one handle, it has only one valve, which is the only thing you need to worry about. If the faucet has two handles, only one of the valves may need to be repaired. Feel the temperature of the water dripping from the nozzle. If the temperature is high, repair the hot water valve first. If the temperature is low, start with the cold water valve. If the faucet still leaks after repairing the hot valve or cold valve,
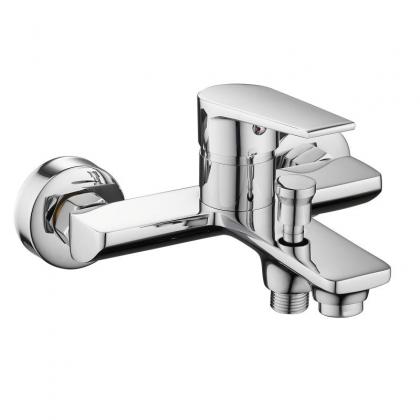
china square mixer shower you can repair another one, but you may not have to do so.
Step 2: remove the faucet handle
Use a slotted screwdriver to lever off the cover so that it hides the handle screws. The fixing screw of lever faucet is usually located directly below the lever. After removing the cover, remove the fixing screws with a cross screwdriver or an Allen key. After unscrewing the screw, the handle can be pulled out directly. If it is not easy to fall off, please use the handle you purchased in advance.
Step 3: release the valve
The procedure for releasing the valve depends on the faucet type:
-
The compression valve is held in place by a retaining nut that you can unscrew with a pair of sliding joint pliers or adjustable wrench.
-
The ball valve also has a fixing nut that can be screwed off with pliers. Once the nut falls off, the valve ball will fall off from the valve housing.
-
The cartridge valve can be fixed by a fixing nut or clip and removed with pointed nose pliers. Depending on the model, you may have to pull out the lower temperature ring and stop pipe first, and then remove the faucet trim frame before you can access the fixing clip or nut.
-
Disc valves are usually fixed by screws and can be removed with a cross screwdriver.
Step 4: pull out the valve
If you have a cartridge valve,
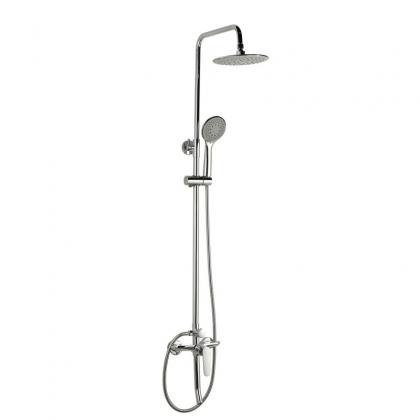
oem thermostatic shower grasp the valve stem with pliers and pull the cartridge valve directly out of the housing. If the valve core is stuck, do not shake too much, otherwise the valve housing may be damaged. Use the cartridge puller to remove it.
Step 5: check the valve
Cartridge and ball valves are usually made of plastic, which may break or break. If any defect is found in the valve, replace it with a new one. If there is scale on the valve, but there are no other defects, the scale may cause leakage. Soak the valve in vinegar for several hours to clean the valve.
Step 6: replace all rubber parts
The rubber parts you need to replace also depend on your faucet type:
-
The compression valve has a rubber gasket at the end of the valve stem. Remove the fixing screw with a cross screwdriver and replace it with the same screwdriver.
-
The ball valve has a spring seat washer in each inlet of the valve seat. Lever out the washer and spring with a screwdriver and replace them. Secure with a screwdriver and push in.
-
The cartridge valve has one or more O-rings that can be slid off the cartridge valve and replaced. Before putting on the O-ring, it is best to lubricate the O-ring with plumber's grease. There may also be a seat gasket in each inlet hole in the valve housing. Check with a flashlight and replace the washer if you see it.
-
Disc valves usually have a pair of gaskets in the inlet hole of the valve seat. Pull it out with a screwdriver or pointed nose pliers and replace it.
Step 7: reassemble the faucet
Apply a little plumber grease on your fingers to lubricate the inside of the valve housing. Then lubricate the valve itself and put it back into the valve housing. Reassemble the faucet by reversing the disassembly steps.
Step 8: test the faucet
Turn on the faucet and observe whether the faucet of the bathtub is dripping. If not, you're finished. If so, and you have a compression faucet, repair the other valve.
Repair valve seat
If the bathtub faucet continues to leak after replacing all rubber,
oem rain shower system the fault may be on the valve seat. It may crack or damage due to corrosion. To replace, turn off the water, remove the faucet, and use a seat wrench (which looks like a bent Allen key) to unscrew and remove the seat. Sit in a hardware store and buy the same replacement. Screw it in place with the seat wrench, and then reassemble the faucet.