7 Steps to Repair Faucet
March 01 , 2022
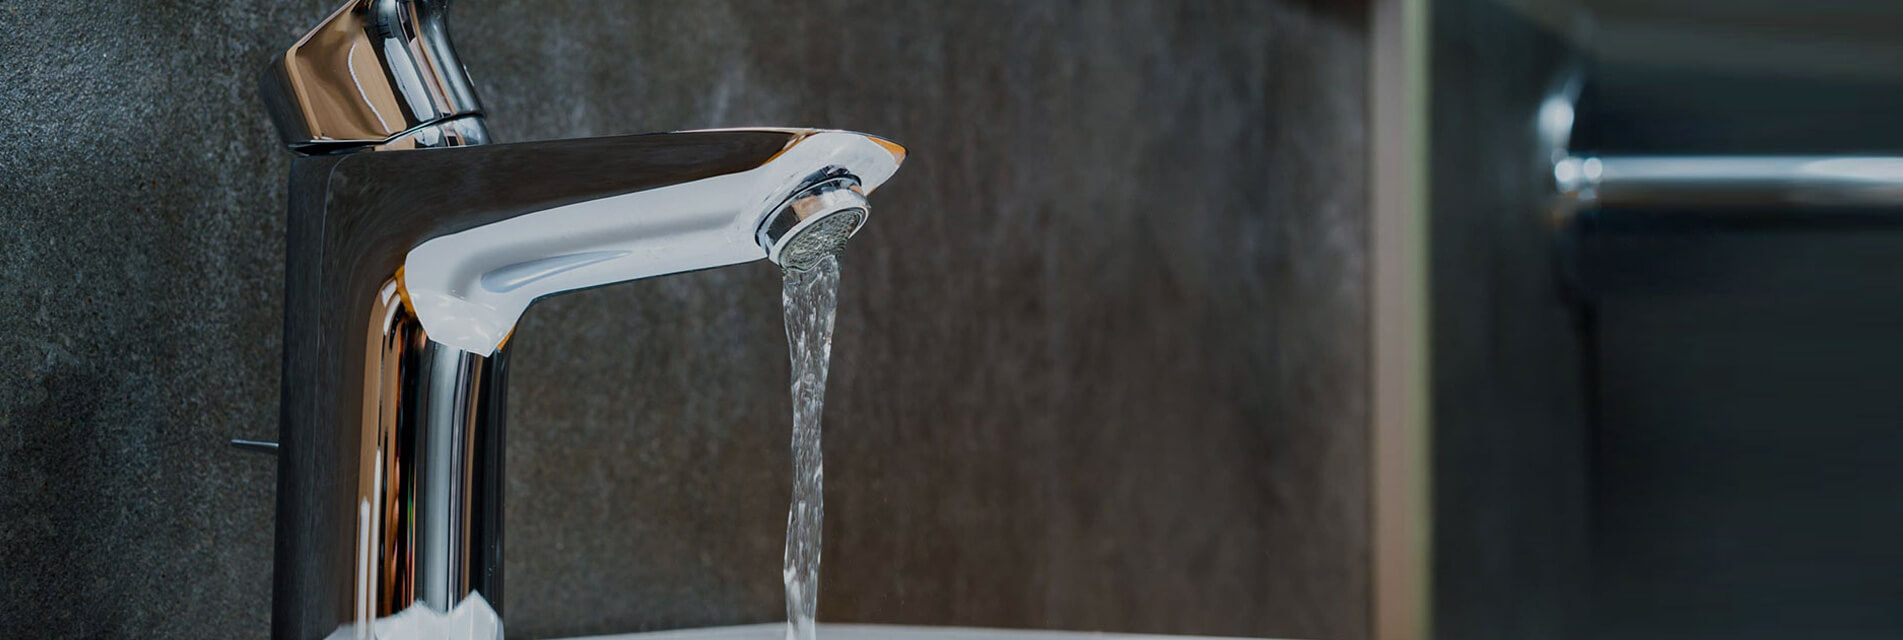
The aerators of pull-down and pull-out faucets are usually located behind the nozzle. Unscrew the nozzle and pull the drill bit out of the head or hose. Then clean with pointed nose pliers
Step 3: Turn off the water.
Shut off valves are usually located under the sink. You can turn them clockwise to close them. If you can't find the stop valve, you may have to disconnect the main water valve of the house. When you need to repair the hot end of the double handle faucet, you can turn off the power socket of the water heater.
You don't have to turn off the water for some maintenance, such as cleaning the aerator or changing the handle.
4. Remove the faucet.
Remove the handle and start the disassembly. To do this, the set screw must be found. It may be located at the bottom of the handle, under the lever or hidden behind a cover that must be pried out with a flat head screwdriver. You can remove most of the set screws with a 1 / 8-inch hex wrench. If you don't see the set screw, the handle has a large conical base. Try unscrewing the base.
Once you pull out the handle, the rest of the disassembly depends on the faucet. It is usually necessary to unscrew the fixing nut with pliers. If you are repairing a ball valve, bathroom or kitchen sink faucet, you must unscrew a dome shaped collar to enter the valve. Remove slowly to avoid any small parts falling into the drain pipe. It's also a good idea to completely cover the drain.
Step 5: Repair the valve.
Once you have exposed the valve, you should be able to remove it by clamping the stem with pliers and pulling it. The ball valve is easy to remove (no pliers are required), but the cartridge valve, disc and compression valve may be stuck by scale.mat black basin factories If you can't remove the valve by twisting, pulling and pouring vinegar, you may need to buy a valve puller, which works similar to a bottle opener.
Once you have a cartridge valve, disc, compression valve or ball valve, check it for cracks and other defects that may lead to leakage. If found, replace it. Pull out all rubber parts and springs from the valve housing and replace with new parts from the repair kit. If there is scale on the faucet, soak the valve in vinegar overnight, and then scrape off the scale with a screwdriver.
Step 6: Reassemble the faucet.
Reverse the disassembly procedure and reassemble the faucet together. Check whether the valve has marks indicating the correct direction and ensure that they are aligned with the marks on the valve housing. Tighten all components firmly with pliers, but do not overtighten. You don't want to break anything. You hope to dismantle the faucet again in the future.
Step 7: Prevent cabinet leakage.
Clean the cabinet shelves and look for dripping water. If the leak comes from a hose connection with a compression fitting, tighten all components with pliers.
If hoses have quick disconnect fittings, they will be plastic and you will see a label or button that can be pressed. These leaks are mainly because the parts were not properly connected at the beginning. To correct this, turn off the water and drain the faucet. Then, grasp the accessory with both hands, press the tab or button to pull it apart, and then push it back together until it clicks.
The cost of repairing a faucet will depend on the root cause of the problem,china touchless bathroom faucet manufacturer but you can usually minimize the cost by making it easy to use the toolbox.
If the faucet leak is external, you may only need to tighten the connection or replace a water supply pipe. If it is internal, the faucet may need to be rebuilt or completely reinstalled